
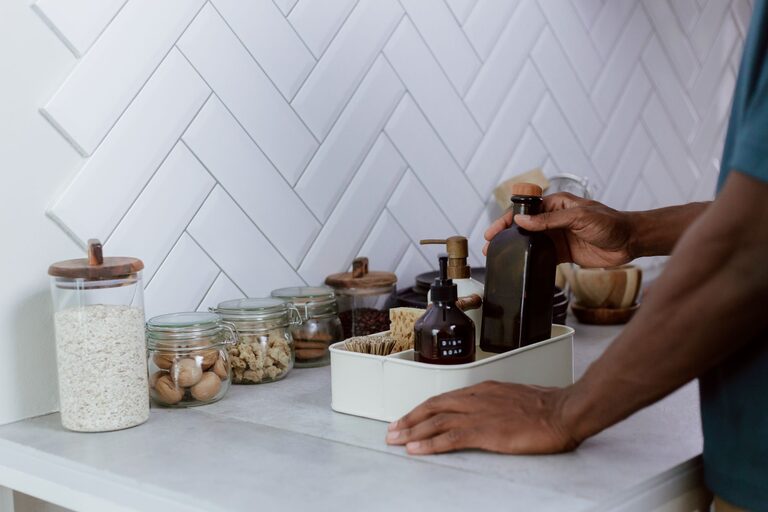

Keeping your kitchen counters clutter-free can transform your cooking space into an organized, welcoming area. A tidy countertop not only looks appealing but also makes meal preparation more enjoyable and efficient. If you often find your kitchen counters overcrowded with gadgets, utensils, and miscellaneous items, this guide will help you reclaim your space with easy, practical steps.
Why Keep Kitchen Counters Clutter-Free?
Having clear kitchen counters offers multiple benefits:
– Improved functionality: More workspace means easier meal prep.
– Enhanced cleanliness: Fewer items mean less to clean and dust.
– Safety: Less clutter reduces the risk of accidents like spills or items falling.
– Aesthetic appeal: A neat kitchen feels calmer and more inviting.
With these advantages in mind, let’s explore how you can declutter and maintain your kitchen counters.
Step 1: Clear Everything Off
Start by completely clearing your counters. Remove all appliances, utensils, décor, and miscellaneous items. This gives you a fresh slate to assess what you truly need on hand.
Write down or take photos of what you find to help identify frequently used items versus rarely touched objects.
Step 2: Sort and Declutter
Use the items you removed to sort into categories:
– Daily essentials: Items you use every day, such as a coffee maker or a cutting board.
– Occasional use: Appliances or tools used weekly or monthly.
– Rarely used: Items that stay stored most of the time.
Be honest during this stage. If something hasn’t been used for months, consider storing it elsewhere or donating it. Keeping only what you regularly need will free up valuable space.
Step 3: Find a Designated Spot for Everything
Assign a home for each item:
– Store rarely used appliances in cupboards or pantry shelves.
– Keep occasional items in easy-to-reach but off-counter spaces.
– Reserve the countertop for daily essentials only.
If your kitchen lacks cabinet or drawer space, consider alternative storage options like a kitchen island with shelves or vertical wall racks.
Step 4: Use Smart Storage Solutions
Implement storage solutions that keep items accessible but off the counters:
– Under-cabinet hooks for mugs or utensils.
– Magnetic knife strips to free up drawer space.
– Tiered shelves or lazy Susans inside cupboards to maximize storage.
– Drawer organizers for cutlery and small tools.
– Clear containers for frequently used dry goods stored nearby.
These tools help maintain order and make the kitchen more user-friendly.
Step 5: Limit Countertop Décor
While a few decorative pieces can add personality to your kitchen, too many create visual clutter. Choose a modest number of items, such as:
– A small plant or herb pot.
– A stylish fruit bowl.
– A sleek soap dispenser near the sink.
Keep décor minimal to preserve a streamlined look.
Step 6: Adopt Daily Habits to Maintain Clarity
Keeping counters clutter-free is easier when you incorporate simple habits:
– Wipe down counters daily and put items back in place.
– Avoid leaving dishes or utensils out after use.
– Regularly check for items that don’t belong on the counters.
– Set limits on how many appliances remain on the countertop.
Consistency goes a long way in preventing clutter buildup.
Extra Tips for Maximizing Counter Space
– Use vertical space: Install shelves or pegboards to keep items off counters.
– Choose multipurpose appliances: Devices that combine multiple functions reduce the number you need.
– Store cutting boards upright: This reduces the space they take on counters or in cupboards.
– Keep a small basket or tray: This can corral small items like salt, pepper, or cooking oils and be moved when more space is needed.
Conclusion
A clutter-free kitchen counter enhances both the look and functionality of your cooking space. By clearing everything off, sorting items, using smart storage solutions, limiting décor, and practising daily maintenance, you can enjoy a sleek and efficient kitchen. Start small, and over time, these habits will become second nature, giving you more room and peace of mind in your kitchen.